Bench notes / Lighting

Workshop Lighting That Does Not Lie About Surface Finish

Colour temperature, shadow direction and the glare problem

A single overhead fluorescent tube is the worst thing you can put above a bench. It floods the work with even light, and even light is exactly what hides a scratch. The surface reads clean, the sanding marks disappear, and you only find the problem once the part is under a different lamp in a different room. The fix is not more light. It is light from the right direction, at the right colour, with a way to kill the glare.

Why one tube lies to you

Diffuse light arrives from every angle at once, so it fills the shallow valleys of a scratch and the peaks of a wavy surface with the same brightness. Your eye reads a flat, uniform tone and calls it finished. Raking light from a low angle does the opposite: it throws a shadow into every low spot and highlights every raised edge. That is the light that tells the truth about a sanded panel or a scraped steel face.

Colour temperature changes what you see

A cold, blue-heavy lamp makes steel look harder and cleaner than it is, and it flattens the warm tones in hardwood so grain and tear-out blur together. A warmer lamp does the reverse: it flatters timber and softens the read on metal. Neither is honest on its own. Pick one temperature for the whole bench and stay with it, so your eye learns what a finished surface actually looks like under that light. Switching between a cold task lamp and a warm ceiling lamp mid-job is how you end up reworking a part you already signed off.

The glare problem on polished parts

A polished aluminium or bright steel part throws light straight back at eye level. Position a lamp directly in front of you and you get a hot spot that blanks out the area you are trying to inspect. Move the lamp off to one side and slightly behind your line of sight, and the reflection slides away from the work. If the glare still bites, a sheet of diffuser material in front of the source spreads the hot spot without killing the direction.

Planned posts

Workshop Lighting That Does Not Lie About Surface Finish

Four pieces are in the works right now, each one written from bench notes rather than a spec sheet. They cover the tool decisions, the reference charts and the material runs that keep a small shop moving.

Benchtop drill press standing on a wooden workbench with a chuck key resting beside it

Choosing a First Benchtop Drill Press Without Regret

Swing, spindle travel and the numbers that actually matter at the bench

Most first drill presses get bought on chuck size and price, then judged later on two specs the listing barely mentions: swing and spindle travel. Swing sets how far from the column you can place a workpiece, and travel decides how deep a single plunge can go before you start shimming the table. The post covers runout checks with a dial indicator, why a slow minimum speed matters more for steel than for timber, and how a mortise attachment changes the footprint you need. It also notes the point where a bench model stops being the right answer and a floor-standing unit earns its space.

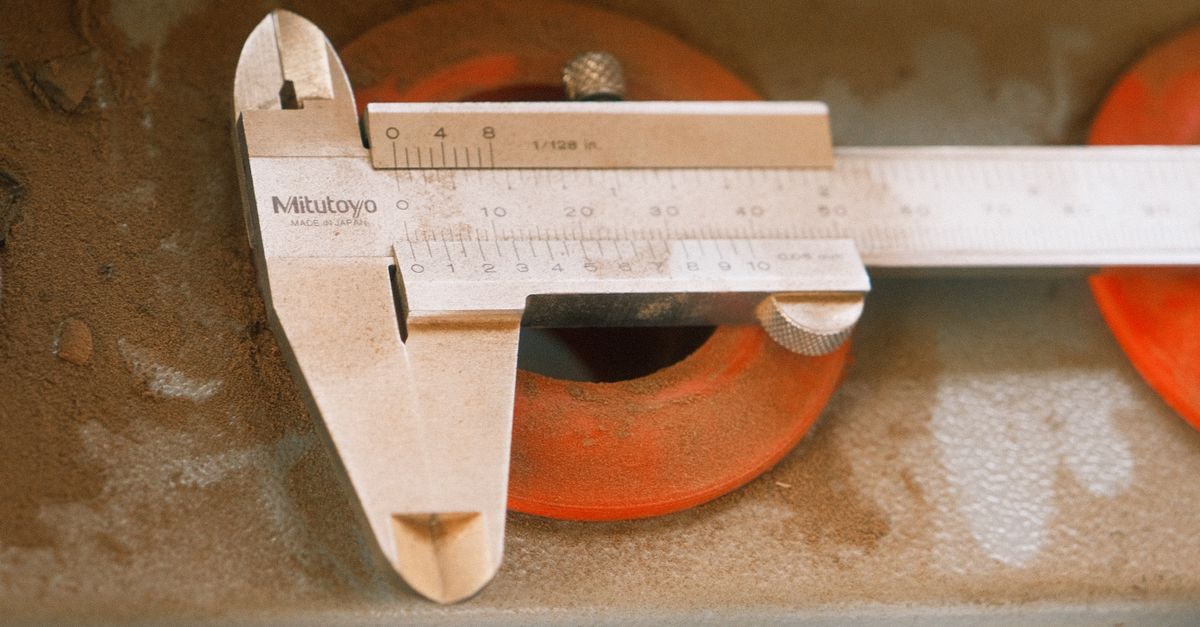
Vernier caliper and engineering drawing laid out on a metal bench surface

Reading Tolerance Charts Without a Metrology Degree

What plus-minus figures mean once the part leaves the drawing

Tolerance charts look like they were written for inspectors, not for someone standing at a bench with a vernier. This piece breaks the notation down: what a bilateral tolerance actually permits, why a unilateral callout changes how you set up a cut, and where a general tolerance block saves you from specifying every dimension. It also covers the practical side, including how temperature and clamping pressure move a measurement more than the machine does, and when a cheap caliper is honest enough for the job. The aim is to make the chart a working tool rather than a document you skip.

Wooden crosscut sled with clamped stop block sitting on a table saw top

Jigs for Repeat Cuts on a Small Table Saw

Crosscut sleds, stop blocks and featherboards that survive real use

Repeatability on a small table saw comes from the jig, not from a steadier hand. The post walks through a crosscut sled with a replaceable kerf strip, a stop block system that clamps to the fence without creeping, and a featherboard arrangement that holds stock against the fence through the whole pass. Each build is described with the material thicknesses used, the fasteners that held up, and the failure points noticed after months of use. There is also a short section on storing jigs so they stay flat, since a warped sled quietly ruins every cut made on it.

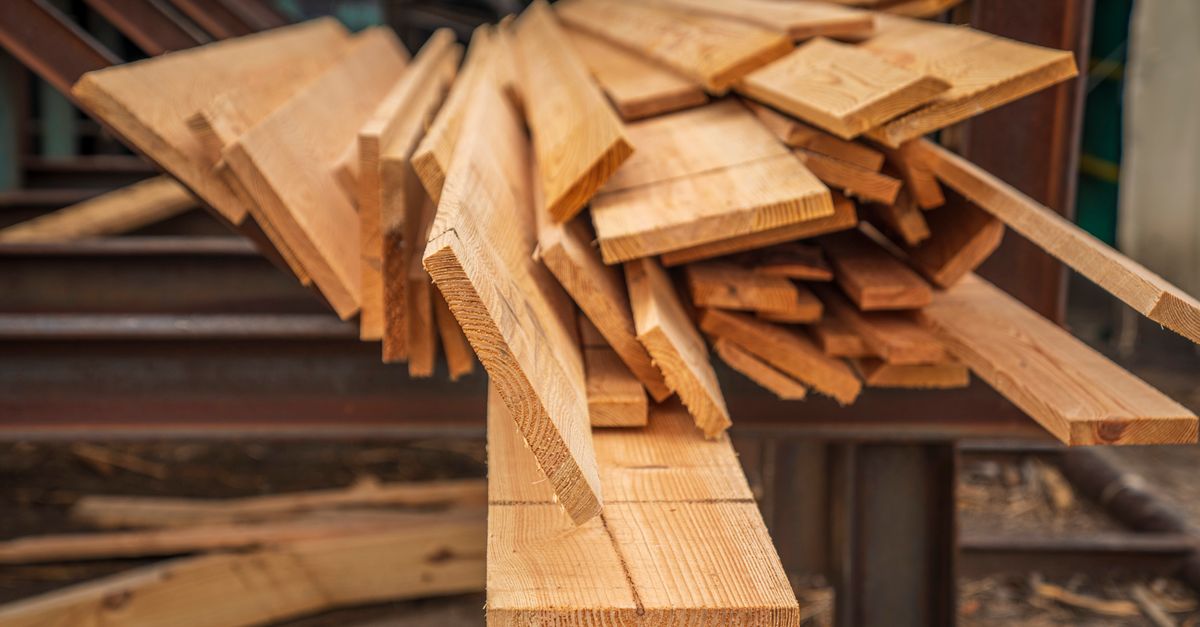
Stacked steel offcuts and short hardwood boards stored on a workshop rack

Where to Find Offcut Steel and Hardwood Around Gauteng

Scrap yards, mill offcuts and the questions worth asking before you load up

Short lengths of steel and hardwood are the hardest thing to buy at a reasonable price when you only need a metre. This guide covers the kinds of places that sell offcuts around Gauteng, from fabrication shops clearing drops to timber yards selling shorts and seconds, and what to bring when you go. It explains how to identify mild steel versus a higher-carbon drop by spark testing, how to check hardwood for internal checking before it goes on the rack, and why a moisture meter is worth carrying. Storage and rust prevention for mixed offcuts get a short section at the end.